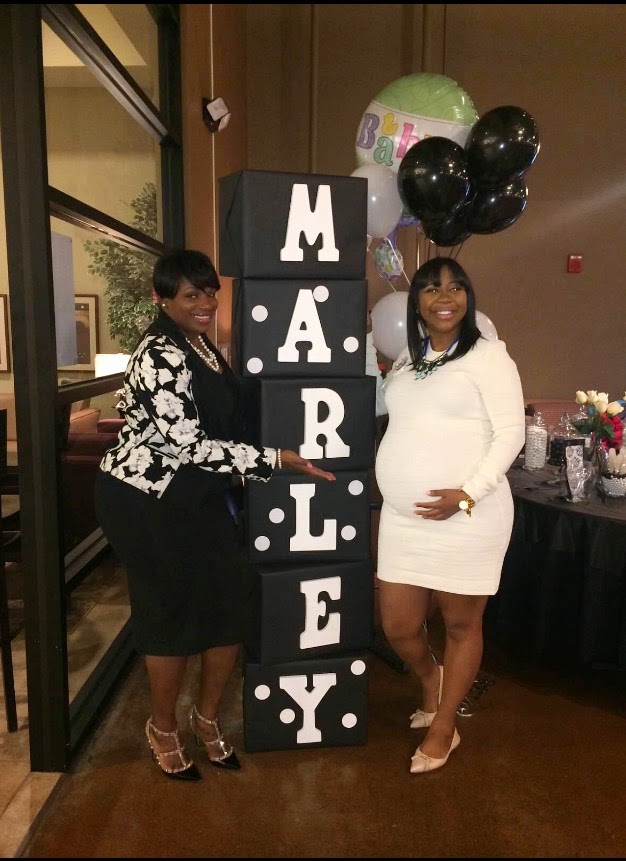
We are in the days of FANCY, everything and everyone are always just so darn....Fancy! So, when I got the news that one of my favorite people was having her 1st child, I knew that this shower had to be FANCY! lol! Although I like and enjoy my share of fancy, I definitely believe in being practical and enjoying a DIY project. Some people are immediately turned off by the thought of any type of DO It Yourself projects, but as you will learn I absolutely love them! Doing It Yourself does NOT mean you have to sacrifice the FANCY fun stuff that we all love. With that being said, I had this great idea for my cousin's baby shower to create life size blocks to celebrate Baby Marley! Not only were they awesome decor, but they doubled as a backdrop for photos. If you are interested in creating life size blocks for an event, your child's room, or etc please see the step by step instructions below. But first..... a few pics! You can call me "Tot the Builder" aka "Bob the Builder" HAHA!
 |
| My cousin YaKema, looking simply stunning at 8 months pregnant! |
.jpg) |
 |
.jpg) |
.jpg) |
.JPG) |
| The beginning of the blocks to the finished product! |
Creating your Life Size Blocks
Materials:
Wrapping Paper (We used a matte black paper from (www.papersource.com)
Gorilla Glue (Michaels or Amazon)
Wooden Letters (www.michaels.com or any Craft Store)
Step 1 - Wrap the boxes with wrapping paper (We decided to have the boxes professionally wrapped to ensure that they were neat)
Step 2 - Apply wooden letters using Gorilla Glue. It's easier to put glue on box first so that you can ensure that placement is correct
Step 3 - Allow 30 min to dry
Step 4 - Optional - We added large Avery circle labels to them to make it pop a little more
Step 5 - Stack your blocks and pose for some pics!!!
Original article and pictures take www.totallytot.com site
Комментариев нет:
Отправить комментарий