
Follow my easy diaper wreath instructions to create a beautiful and memorable baby shower gift. I’ll show you how to make diaper wreaths of the “rolled diaper” type which I think look sleek and classy. The pattern is simple to follow, just read on below...
Some diaper wreaths use rolled up diapers and some use open diapers. I prefer the style with rolled diapers because I think it looks prettier, so that’s what I’ll show you how to make on this page. This is what the finished wreath looks like:
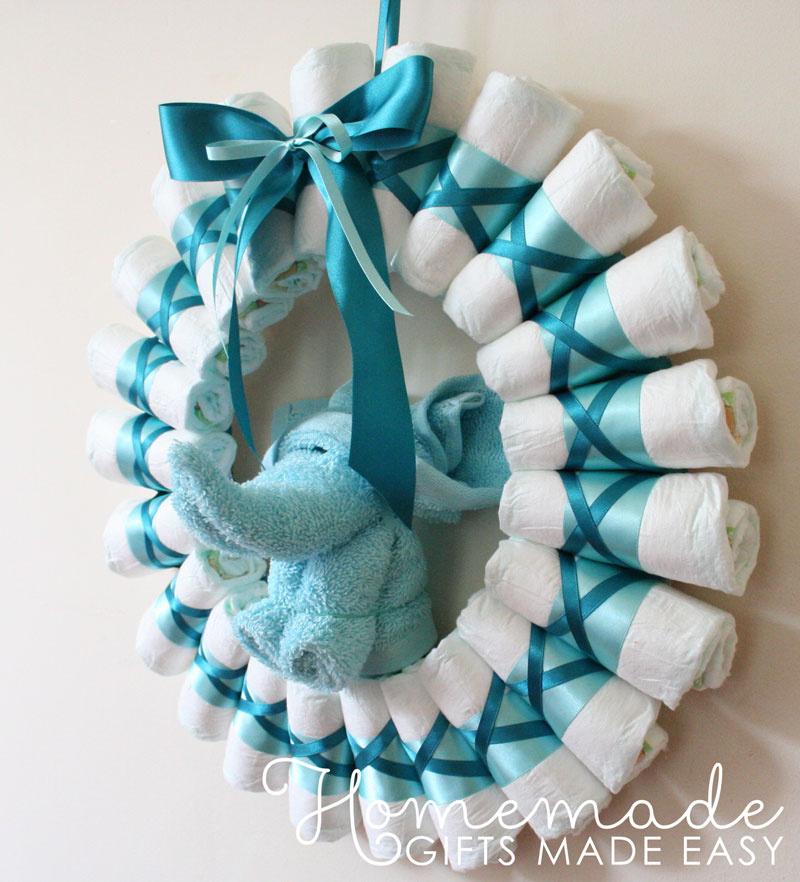
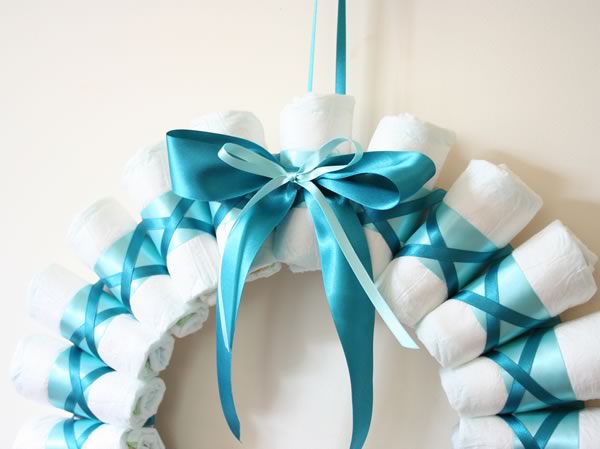
The decoration of the wreath is very simple, using a wide ribbon around each diaper and a thinner ribbon in a criss cross pattern. The top of the wreath is adorned with a simple pair of ribbon bows.
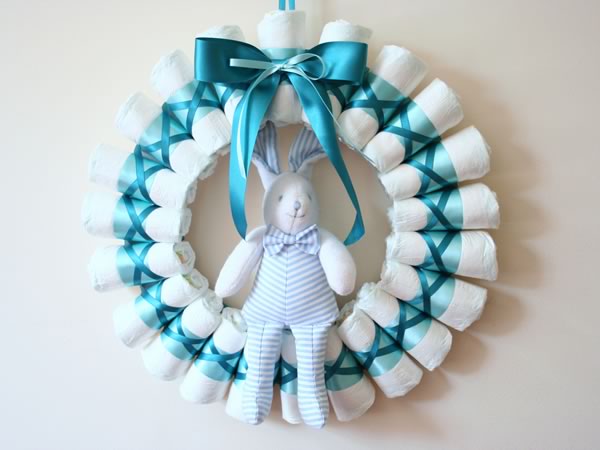
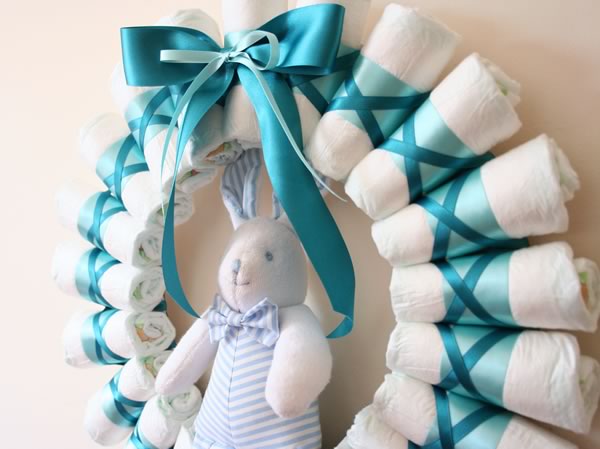
You can add toys or other embellishments to your diaper wreath too. Mr Bunny looks right at home in the wreath
If you’re feeling extra creative you could make a wash-cloth animal to adorn your wreath, like Mr Elephant here. If you like you can skip ahead to the video of how to make the elephant.
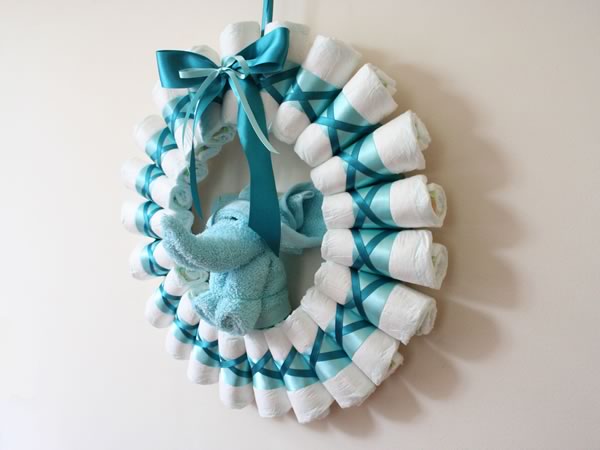
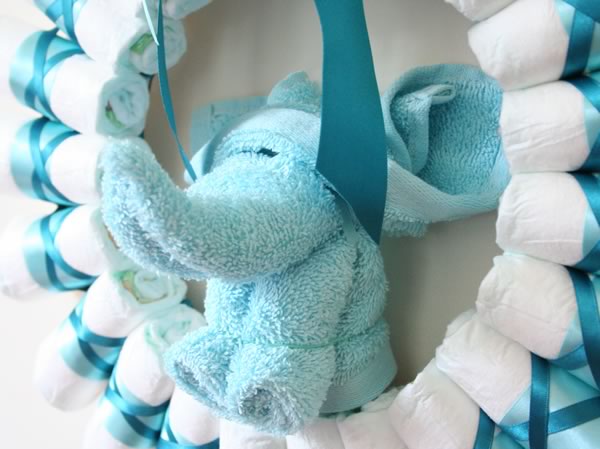
OK, ready to make yours? Let’s get onto the diaper wreath instructions, starting with the materials...
Materials for Making Rolled Diaper Wreath
Here’s what you’ll need to make your diaper wreath (or “nappy wreath”, for you Brits and Aussies).
- Diapers x 22
- Thick cardboard from old box, roughly 14 x 14" (34 x 34 cm) square
- White office paper x 3 sheets
- Wide ribbon (1.5" or 3.7 cm) x 5 yards
- Narrow ribbon (3/8" or 7 mm) x 10 yards
- Glue stick
- Hot glue gun
- Rubber bands
- Optional: double-sided adhesive tape
- Optional: popsicle sticks
The number of diapers is approximate and obviously depends on how big you make your wreath and how tightly you roll the diapers. It’s always good to have a few spare just in case.
Try to get plain, white, undecorated diapers if you can find them. If the diapers only have a small picture on them that then that’s OK too because you can hide it when you roll them.
Rolled Diaper Wreath Instructions & Pictures
Step 1: Cut circle
The first step is to make a cardboard circle and cover it in white paper.
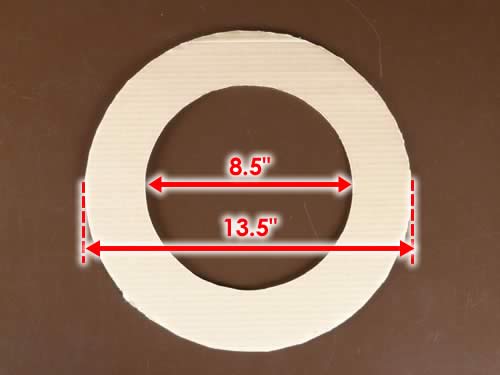
Cut a doughnut shape out of your cardboard. I used a circle with an inner diameter of 8.5" (22 cm) and an outer diameter of 13.5" (34 cm). In terms of radius that’s an inner radius of 4.25" (11 cm) and an outer radius of 6.75" (17 cm). A circle this size will hold about 22 diapers.
If you don’t have a compass big enough to draw the circles, then you can draw a circle using a piece of string .
To make your doughnut white, cover it with glue stick then glue on some sheets of office paper:
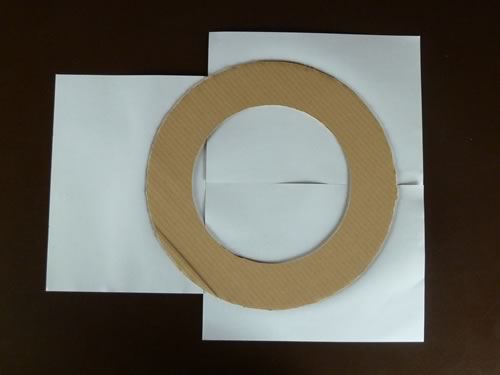
Trim away the excess paper, leaving a white cardboard doughnut:

Obviously you can skip this step of my diaper wreath instructions if you’re happy with the color of your cardboard as it is.
Step 2: Roll diapers
Roll up a diaper and hold it in shape with a rubber band. If the diaper has a pattern, then try to roll that on the inside of the roll so it doesn’t show (unless you want to make a feature out of the pattern).
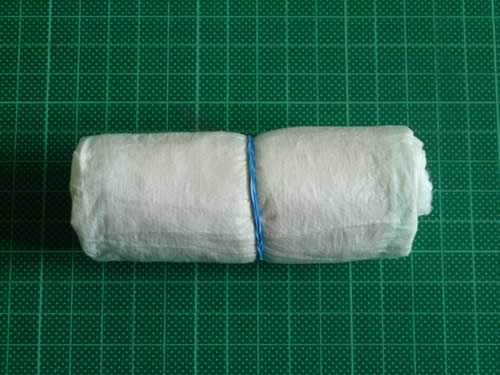
Cut a length of wide ribbon just long enough to wrap around the diaper with a little bit spare. Glue it in place with hot glue. Make sure that you only glue the ribbon to itself and not to the diaper, because you want the diaper to still be useable.
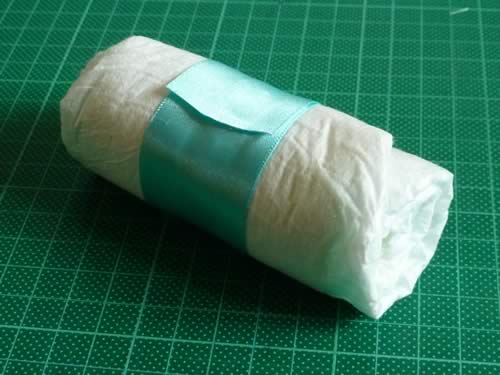
Repeat for the rest of the diapers. As you get more proficient at gluing you might find that you don’t even need the rubber bands.
Step 3: Glue diapers to wreath
Squirt a bit of hot glue onto a rolled diaper, near the overlap in the ribbon. Make sure you glue only the ribbon, not the diaper itself.
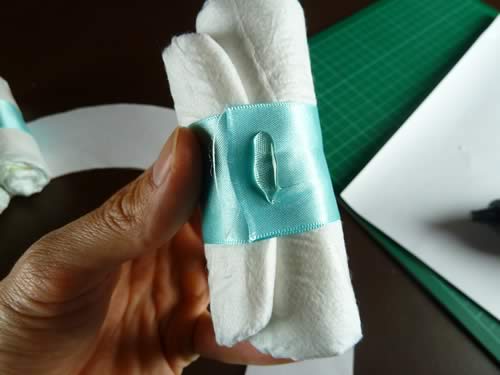
Glue the rolled diaper onto the wreath so that the edge of the ribbon lines up with the outside of the wreath
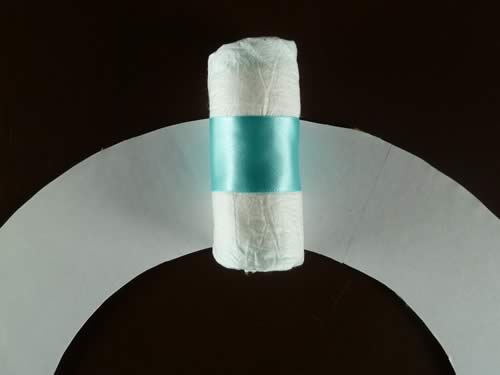
Glue on more diapers, working your way around the wreath. Pack them as closely together as you can, so that they’re squashing against each other on the inside of the wreath.
When there’s only space for 4 or 5 more diapers, plan out exactly how many more will fit, so that you can space them out evenly and not leave a gap at the end.
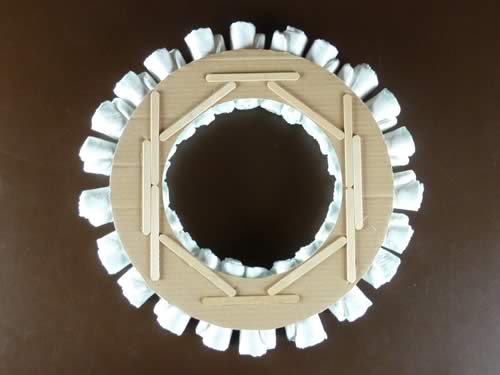
Once you’ve glued on all the diapers, you might find that their weight makes the wreath bendy. To stiffen the wreath you can hot glue on some popsicle sticks or another layer of cardboard.
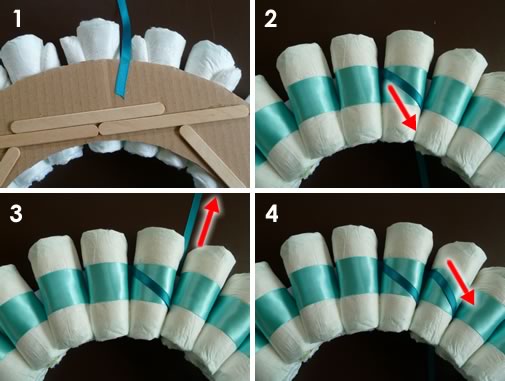
Step 4: Criss cross ribbon wrap
Attach one end of the narrow ribbon to the back of the wreath, between two rolled diapers. I used double sided tape but hot glue would work fine too.
Wrap the ribbon diagonally across the front of a diaper, then up behind the wreath, the diagonally across the front of the next diaper, etc.
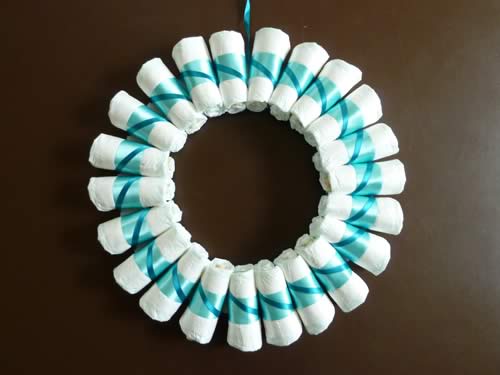
Continue all the way around your wreath until it looks like this:
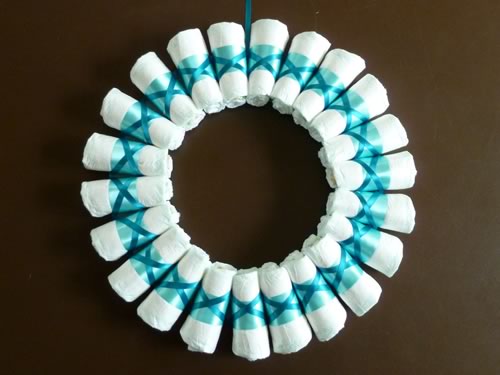
Then wrap back in the other direction until your wreath looks like this:
Feel free to experiment with other ways of decorating. In my diaper wreath instructions I’m just showing you one possible way, but I’m sure you can think of plenty more!
Step 5: Attach bow
To finish your diaper wreath, attach a bow with double-sided tape or hot glue. (See my tips on tying a neat bow .)
I made a double bow in the same colors of ribbon that I used for the rest of the wreath, but with the thicknesses reversed, i.e. wide dark blue and narrow light blue, instead of narrow dark blue and wide light blue.
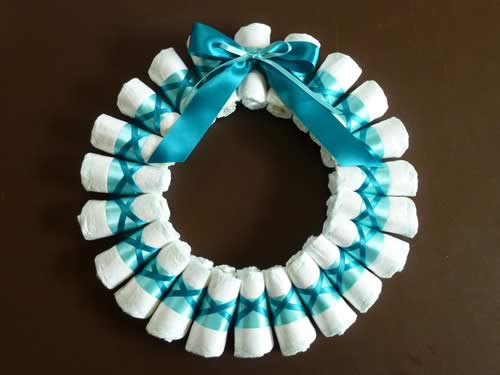
Here’s the finished wreath:
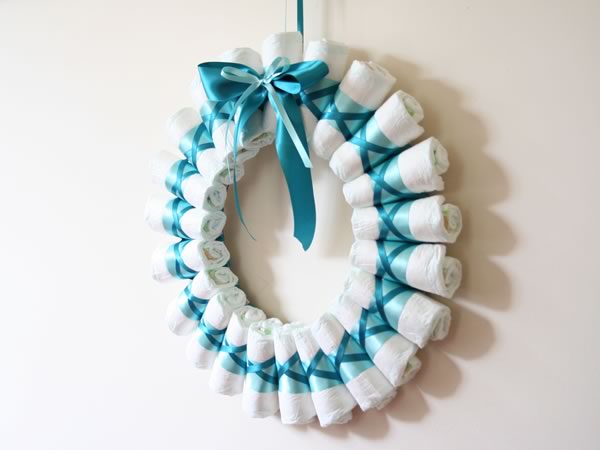
How did yours turn out? I hope you found my rolled diaper wreath instructions helpful! If you have any questions or comments, or just want to say hi, please contact me with this handy form or leave a comment at the bottom of the page.
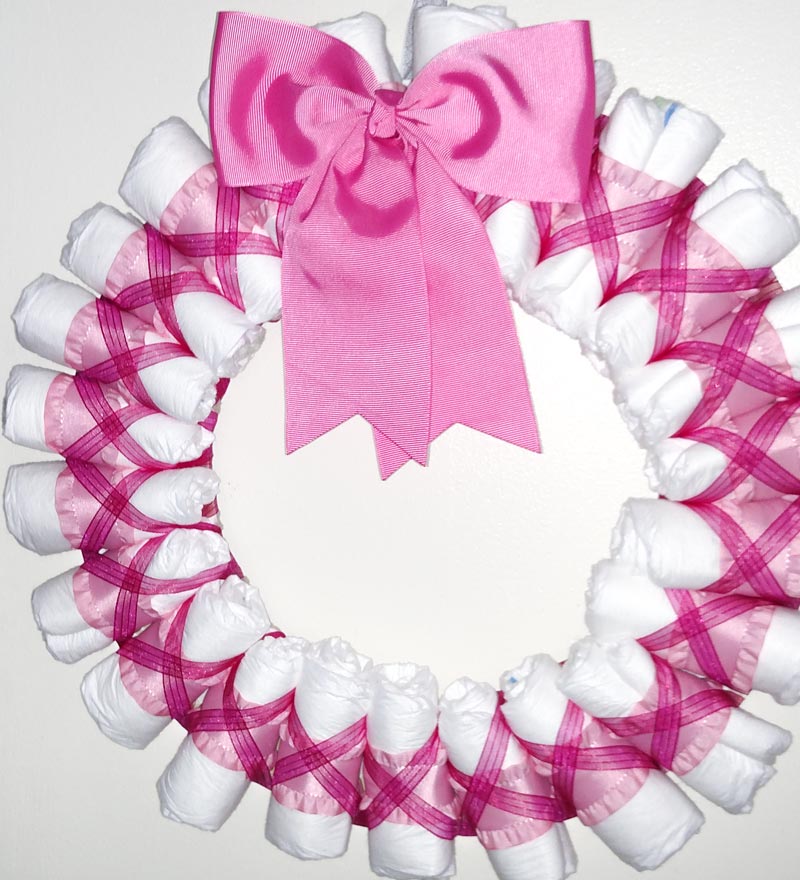
Here’s a wreath made by reader Sarah. Thanks for sharing your photo Sarah!
Optional: Wash-cloth elephant
Loads of people have asked me how to make the elephant, so here’s a video I found on youtube (not mine) that shows how to make an elephant.
More baby gift tutorials
You might also like...
... or click here for even more homemade baby gifts tutorials .
Sponsored links:
Original article and pictures take www.homemade-gifts-made-easy.com site
Комментариев нет:
Отправить комментарий